The pièce montée was the pièce de resistance for the 2014 season of The Great British Bake Off. For the bakers in the Great White Tent, it was the final challenge in a 10-week marathon of baking successes, failures, and even one spectacular binning. For me, it was the culmination of my third year of baking through the Bake Off. I can’t believe I’ve completed three full seasons, taking on (and completing) every challenge faced by the contestants on Bake Off.
This particular challenge coincided with Halloween, so it made sense for me to design my pièce montée with a Halloween theme. And it didn’t hurt that my daughter was planning to have a party in our backyard with a few friends, so I knew I’d have help devouring this monster of a montée!
But getting back to the basics — what exactly is a pièce montée? French for “mounted piece,” a pièce montée is, according to Wikipedia, “a … decorative confectionery centerpiece in an architectural or sculptural form.” Invented in the 19th century, these edible structures were often created to awe guests at formal banquets and feasts. Here’s an excerpt from an 1862 cookbook, The Royal English and Foreign Confectioner, written by Charles Elmé Francatelli:
There are several styles of pièces montées; they are constructed in almond or gum paste, in confectioners’ paste, spun sugar, and also in royal icing piped onto moulds, or on pieces of glass, and after drying, are detached, and stuck together to form the intended ornament or edifice.”
Although made with edible, mostly sweet materials — ranging from marzipan, nougat and fondant to spun sugar, meringue and royal icing — these elaborate sculptures were rarely meant to be eaten and were often built around armatures of wire or cardboard supports. You could say that the gingerbread house, a popular Christmastime decoration, is a simple version of the pièce montée — lovely to look at but usually hard and inedible by the time Christmas rolls around.
In France, the pièce montée is the traditional dessert at weddings, in place of a wedding cake, and the star of the pièce montée is a croquembouche. Another French invention, its name is derived from croque-en-bouche, which means “crunch in the mouth.” A croquembouche is a (usually) cone-shaped tower of profiteroles, filled with cream and glued together with caramelized sugar or chocolate. Its creation is credited to Antonin Carême, a French chef of the early 19th century who is famous for his elaborate pièce montées in the shapes of Turkish mosques, Persian pavilions and Gothic towers.
For this challenge, Paul and Mary wanted the bakers to make a pièce montée containing cake, sugar work, choux and petits fours, and they wanted it to represent something meaningful to them. Both Luis and Richard chose designs that evoked their hometowns. Nancy built on the French theme by rendering the Moulin Rouge in pastry.

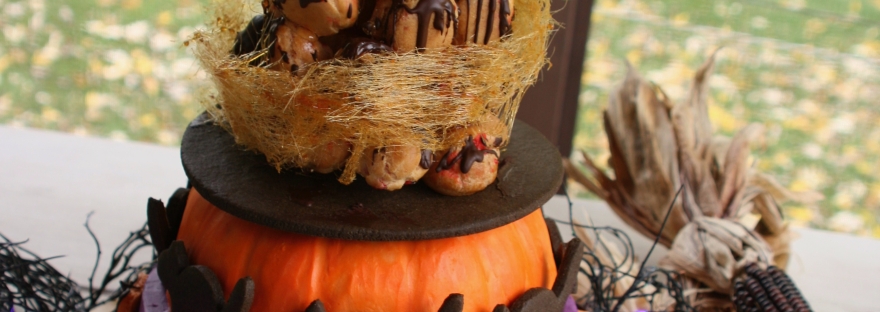
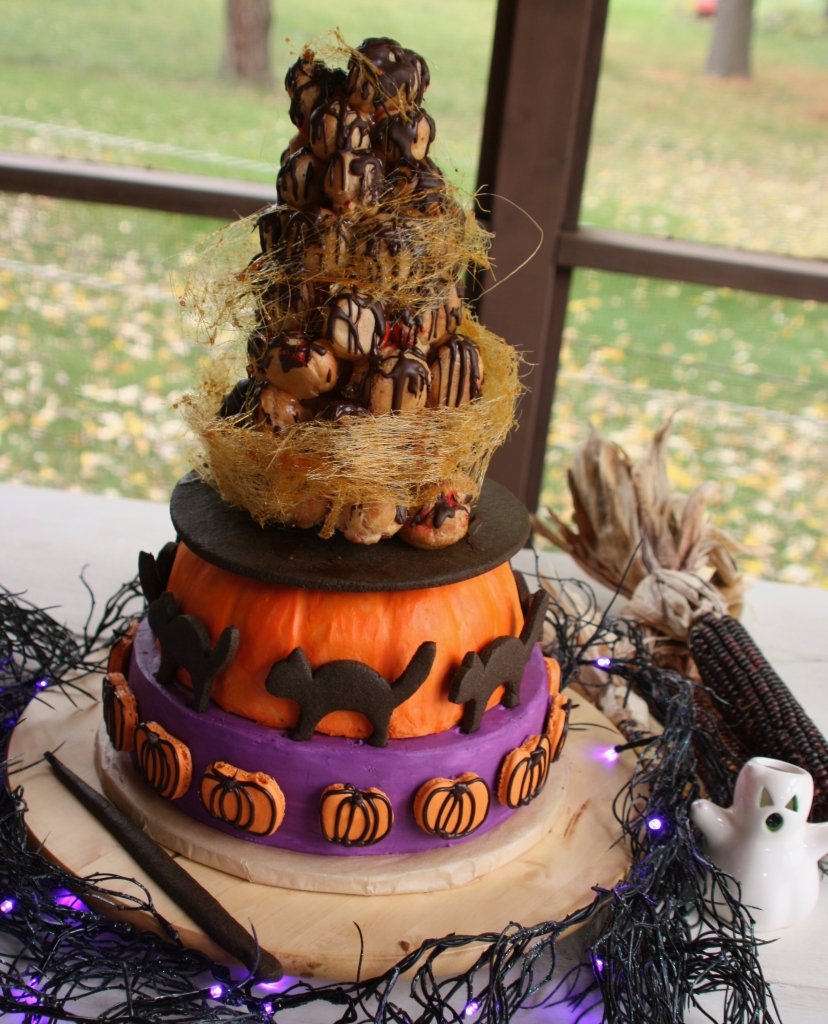
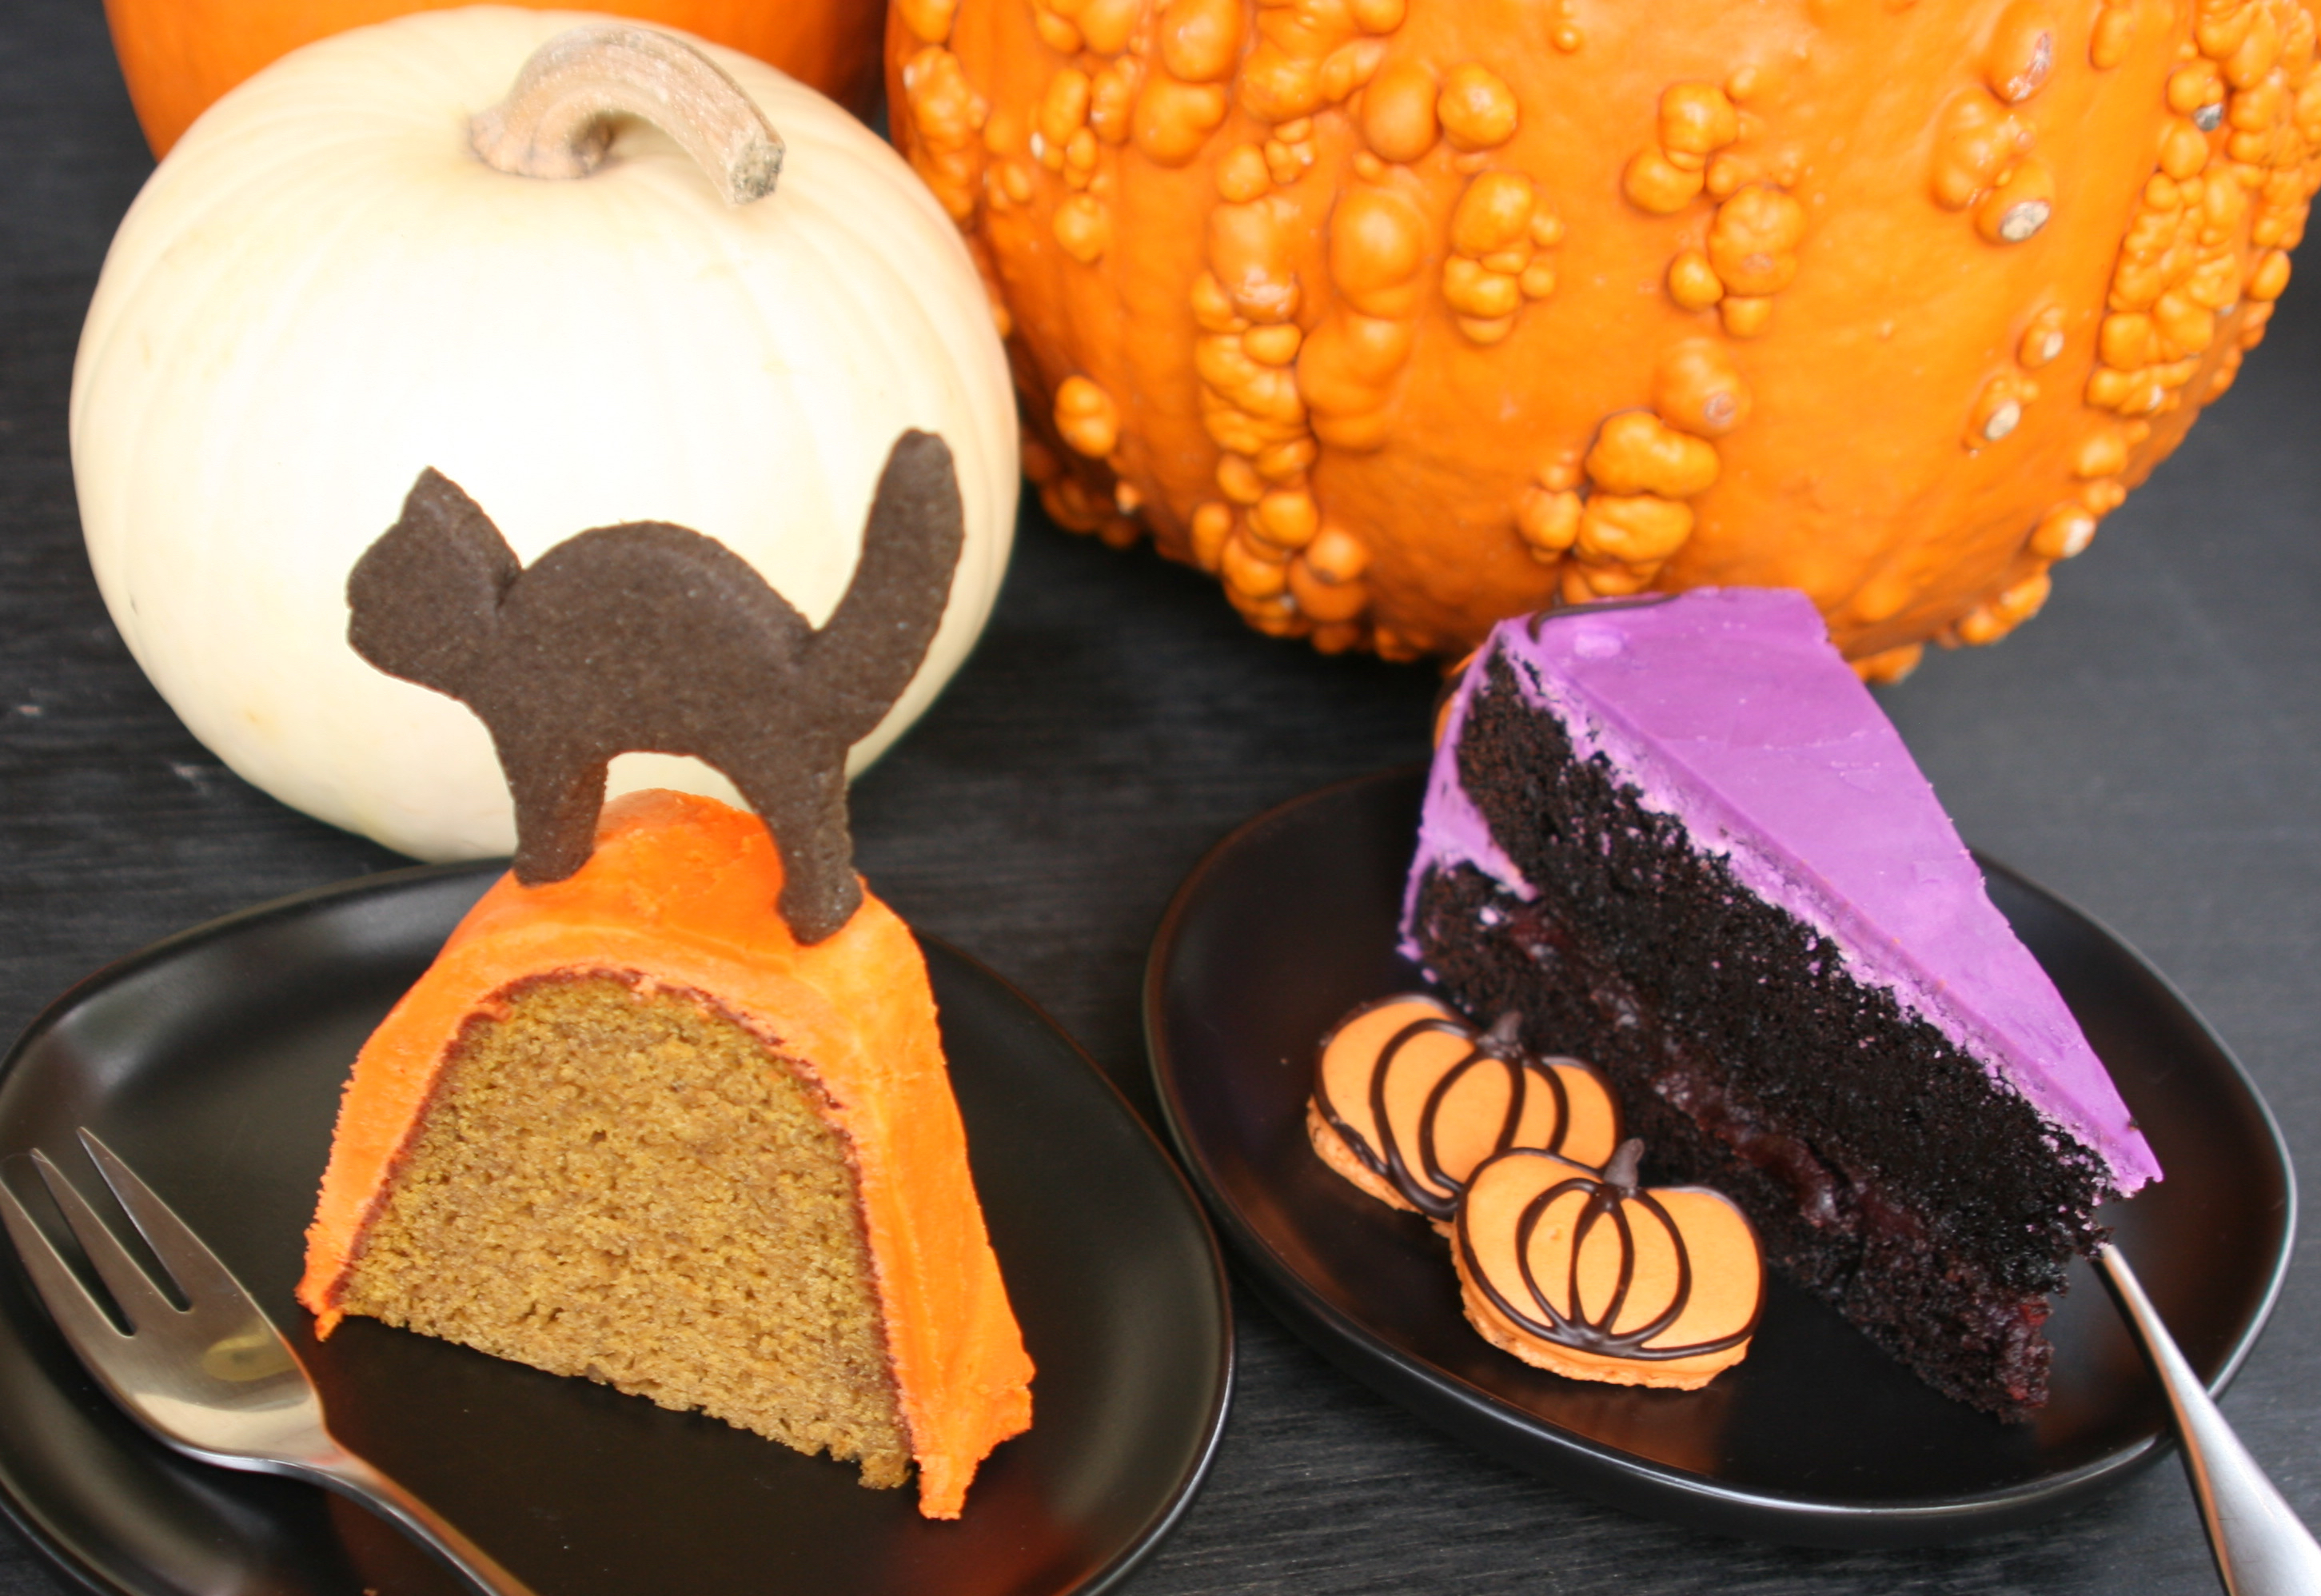
I’ve titled my pièce montée “The Magic of Halloween,” and like the GBBO contestants, I used cake for the base. The bottom tier is a midnight chocolate cake with a dark cherry filling. On top of that is a pumpkin cake baked in a Bundt pan to elicit the shape of a pumpkin. Both cakes are iced with buttercream frosting colored purple (bottom tier) and orange (second tier). The chocolate cake is decorated with pumpkin-shaped macarons, and the pumpkin cake is encircled by gingerbread black cats. For the croquembouche, I wanted to educe a witch’s hat, so I made a round base of gingerbread (tinted black), and mounted the cone-shaped croquembouche on top of that. The profiteroles are filled with blood-red orange pastry cream and drizzled with dark chocolate. I also made a spiral of spun sugar surrounding the croquembouche to give it a magical aura and added a gingerbread “wand.”
As I did with some of my other more elaborate showstoppers, I’ve decided not to write out all the recipes here, but to focus on my process instead. Don’t worry, I’ll give you links to all the recipes I used below.
Breakdown of the Bakedown
Like with my entremets, I spread this bake out over several days. Even though the Bake Off bakers had to finish theirs in five hours, it’s a lot less stressful to divide it into bite-size pieces — and I didn’t want to be too tired to enjoy it (and the party) when it was complete!
Here’s how I divided it up:
Day 1: Make gingerbread cats, wand and hat base. Store in airtight container.
Day 2: Make cakes and cherry filling. Freeze cakes and refrigerate filling.
Day 3: Make macarons. Store in airtight containers.
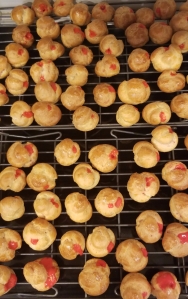
Day 4: Make profiteroles and freeze them.
Day 5: Make pastry cream. Store in fridge.
Day 6: Make buttercream icing. Fill and frost cakes. Refrigerate cakes until ready to assemble. Make cardboard cone for croquembouche.
Day 7: Stack cake tiers. Fill profiteroles. Make caramel. Assemble croquembouche. Spin sugar. Decorate pièce montée. Serve!
Elements of the Pièce Montée
Here are the links to each recipe, plus notes, modifications or how I would change them in the future, if at all:
This cake uses dark cocoa powder (I used Hershey’s Special Dark Cocoa), which results in a deep, rich color. For an even darker finish, line the bottom of the cake pan with parchment paper, then grease and dust the inside with dark cocoa powder.
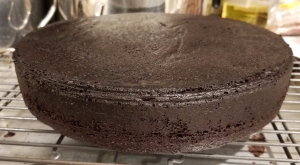
Modification: Instead of two 9-inch cake pans, I baked it in a 10-inch springform pan, which took about an hour to bake. Once the cake had cooled, I froze it, then split it into two layers (also called torting).
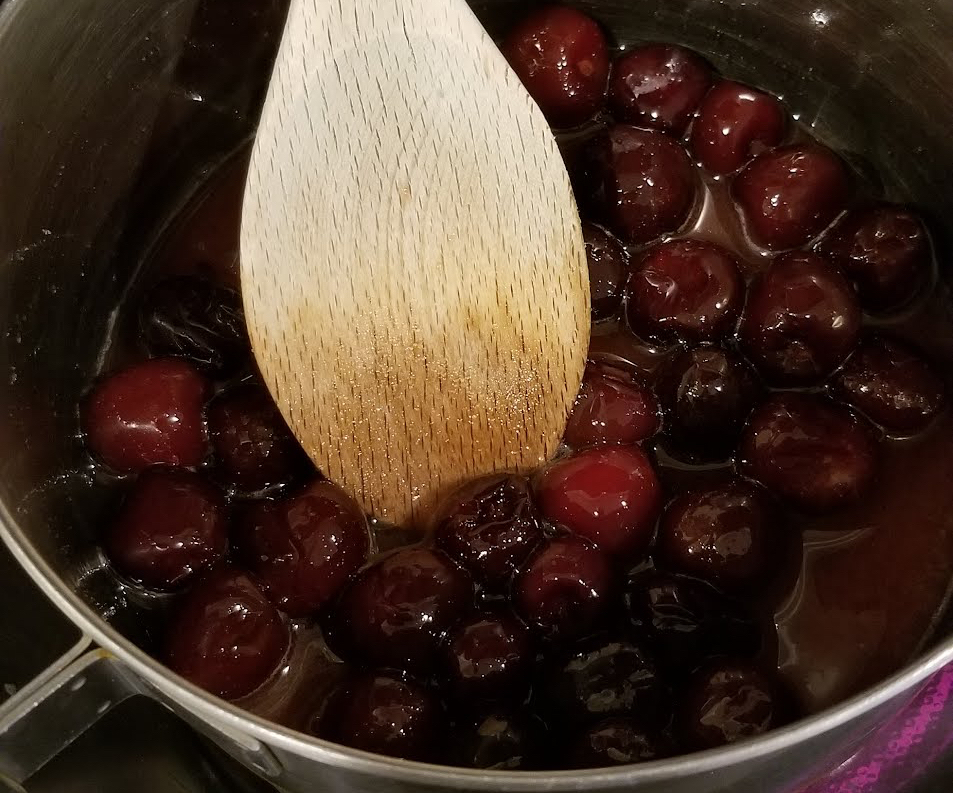
I followed this recipe exactly. I used frozen cherries, which perhaps aren’t as flavorful as fresh, but I found it to be a bit bland. Next time, I would substitute a tablespoon or two of kirsch for part of the water to add flavor.
Although the author says the filling will keep in the fridge for a week, mine separated (although it was fine once I stirred it together again). She also says you can freeze it for three months, but cornstarch tends to lose its thickening power in the freezer, so I would recommend using this filling within a few days of making it.
This recipe is perfect as written (cue Billy Joel singing “I Love You Just the Way You Are”), but it calls for a 12-cup Bundt pan, and mine is only 10, so here’s how to use just enough batter and avoid an overflowing pan and burnt batter all over the inside of your oven:
First, figure out the volume capacity of your cake pan by pouring water in it, a cup at a time, keeping track of how many cups it takes to fill it. Then figure out what fraction that volume is compared to the pan the recipe calls for. Mine is 10/12, or 5/6 of a 12-cup pan. Next, weigh your empty batter bowl, and write down the weight. (I’ve done this so much I just wrote it in Sharpie on the bottom of the bowl.) Then, after mixing all the ingredients, weigh the batter in the bowl, and subtract the weight of the bowl. Now figure out how much batter to remove. For my 10-cup pan, I needed to remove 1/6 of the batter, which by weight was about 305 grams. This gave me enough extra batter for six cupcakes. Yum!
This recipe made enough to cover both the midnight chocolate cake and the pumpkin Bundt cake, so all I did was divide the mixture into two different bowls and color one orange and one purple. There are great instructions on the linked blog post for icing the Bundt cake to look like a pumpkin.
This recipe lists ingredients by weight, which is more accurate than volume, and is especially important when making macarons. Even though this recipe uses grams instead of ounces, it’s not difficult if you have a common kitchen scale, which usually lets you choose between measurement scales.
Helpful tips: One large egg white weighs about 30 grams, so 100 grams will take between three and four egg whites. I often freeze leftover egg whites in ice cube trays so I can thaw and use just the right amount for a recipe. To make sure your mixing bowl and whisk attachment are entirely grease-free before making meringue, wipe them with white vinegar before whipping the egg whites.
Modification: Instead of pumpkin pie spice, I used my own mixture of chai spices. Feel free to use whatever spice blend you prefer (apple pie spice, chai masala, pumpkin pie spice, etc.).
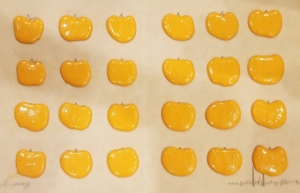
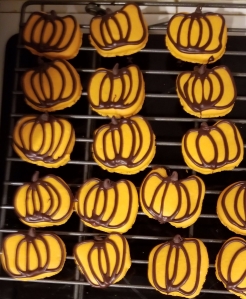
To make pumpkin-shaped macarons, I used the template you can download from this website. Since mine didn’t have the ridges hers did, I ended up piping ridges on with chocolate and using mini chocolate chips for stems, as she suggested. If you haven’t made macarons before, I highly recommend her video tutorial series.
Since I only needed enough macarons to decorate the outside of my bottom tier, I saved the rest and sandwiched them with chocolate ganache to eat later. Yum!
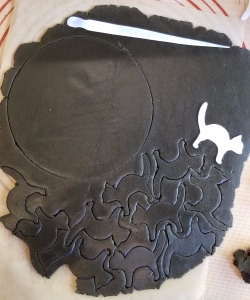
Modification: This is the same recipe I used for my Gingerbread Eiffel Tower, except that I made only half the recipe and added some black food coloring. To make the hat base, I simply traced around an 8-inch cake pan. To make the cat shapes, I drew my own pattern, traced it onto cardstock and cut it out. I also made a pattern for the wand, but you could easily cut it freehand and shape it however you want.
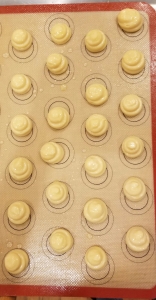
This is another recipe that works best if you measure ingredients by weight rather than volume, so get that handy kitchen scale out again! Also, make sure to follow the advice of the blog linked above when adding egg to the mixture—only use what you need to get the right consistency.
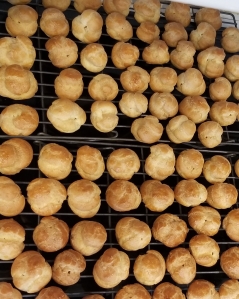
Modification: I multiplied this recipe by 1.5 so I would be sure to have enough profiteroles for the croquembouche. I piped the choux pastry with a plain, ½-inch round piping tip into ¾-inch-wide mounds about 1 inch tall. Using the little bit of leftover beaten egg that didn’t go into the mixture, I lightly brushed the unbaked profiteroles with egg wash to give them a nice sheen and help keep them crisp longer.
Helpful tips: If you plan to fill the profiteroles within two days, store in an airtight container at room temperature. To keep them longer, lay the profiteroles in one layer on a rimmed baking sheet and freeze for about an hour, then transfer to a ziplock bag and store them in the freezer. On the day you plan to fill them, take the profiteroles out of the bag and thaw at room temperature on a cooling rack for about half an hour, then transfer to a rimmed baking sheet and crisp them in a 300°F oven for 5-8 minutes. Transfer back to the cooling rack and let them cool completely before filling.
Modification: After cooking the custard on the stove, and BEFORE adding the orange zest and butter, I strained the mixture to remove any lumps. THEN I added the orange zest and the butter, whisking until the butter melted and everything was well-combined. If I had followed the recipe as written, all the orange zest would have been strained out of the pastry cream right after it had been added. I wanted the full-bodied orange flavor that only comes from infusing over time. I also added red food coloring gel to give it a bloody red color (perfect for my Halloween theme).
I used this recipe to make the caramel that sticks the profiteroles together for the croquembouche, as well as the spun sugar decoration. The first time I used this recipe was for the spun sugar nest on my Goose That Laid the Golden Egg hidden design cake. The addition of corn syrup to the sugar and water mixture prevents the sugar from crystallizing.
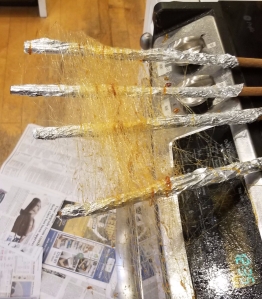
I made the spun sugar with the caramel that was left over after putting the croquembouche together. Even though the caramel had hardened, I was able to warm it gently on the stove to soften it again. Helpful tips: Before making spun sugar, make sure to read this tutorial, and prepare your work area with newspapers on the floor. I used four dowels covered with aluminum foil and sprayed with vegetable oil spray to “catch” the spun sugar as I flicked it with a fork. Also! Wear socks or old shoes and pants, since you are bound to flick some of the hot caramel onto your clothing, and you don’t want it coming in contact with your skin. Ouch!
Assembling the Pièce Montée
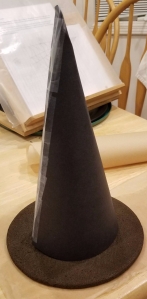
To make the cardboard cone that would serve as a form around which I would build the croquembouche, I first had to remember how to make a cone from a flat piece of poster board. I knew I wanted it to be about 12 inches high and about 6 inches in diameter, so I did what any young geometry student would do and found an online math tutorial. Once I got that figured out, I covered the cone with parchment paper and taped it together. Helpful tip: Make sure all the cardboard is covered with parchment; otherwise, it will be virtually impossible to remove the paper cone from the inside of the croquembouche and will render any profiteroles stuck to the cardboard inedible. I had to sacrifice the bottom third of my croquembouche because the bottom of the cardboard cone was sticking out from under the parchment.
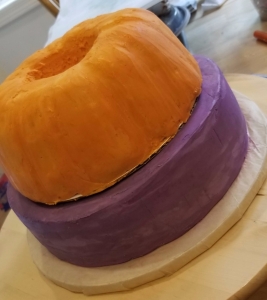
On the day I was ready to assemble the pièce montée, I first had to stack my cakes. To do this, I used plastic dowel rods inserted into the bottom cake and cut to fit the height of the cake exactly. Then I placed the pumpkin cake, which was already on a cake board, on top of the chocolate cake. The dowel rods support the cake board, which holds up the pumpkin cake. This all prevents the top cake from sinking into the bottom cake.
After thawing and reheating my profiteroles to crisp them up again (see instructions above) and letting them cool, I filled a pastry bag fitted with a ¼-inch round tip with the pastry cream, inserted the tip into the puffs and filled them each with cream.
Then I made the caramel. As soon as the caramel was dark enough, I put it into a bowl of ice water to keep it from burning. I placed the parchment-covered cone onto a cake turntable covered with more parchment paper, then dipped the profiteroles into the caramel (BEING VERY CAREFUL NOT TO BURN MY FINGERS!), one at a time, placing each one against the cone, caramel sides touching, starting at the bottom of the cone and working upward. Helpful tip: If the caramel gets too hard, reheat it on the stove over low heat to soften it again.
Once the cone was completely covered in profiteroles, I left it to harden for about 30 minutes while I made the spun sugar. Then I attempted to remove the paper cone from inside the croquembouche, and that’s where I ran into problems with the paper sticking to the caramel. Fortunately, I was able to save the top two-thirds of my croquembouche. (The rest looked like a wild animal had mauled it to death.)
I then melted 4 ounces of dark chocolate, transferred it to a piping bag and drizzled it over the croquembouche. I also used some of the chocolate to pipe thin lines on the pumpkin macarons to look like grooves in the pumpkins.
After letting the chocolate harden, I placed the 8-inch round piece of gingerbread on top of the pumpkin cake and placed what was left of my croquembouche on top of that. I then arranged the spun sugar in a spiral around the croquembouche. I placed the gingerbread black cats around the pumpkin cake and “glued” the pumpkin macarons around the side of the chocolate cake with extra buttercream. The gingerbread wand was placed strategically (and aesthetically) next to the cake.
My pièce montée was a big hit at the Halloween party, and there was plenty left over to share with friends, neighbors and other family members near and far. (Some of it even traveled to Omaha with me for an impromptu visit with my youngest.) If Paul and Mary were judging it, here are some of the comments I think I’d hear: The chocolate cake is very moist (Can I say that in a G-rated blog?), but the flavor of the cherry filling doesn’t come through very well. The pumpkin cake has a good blend of spices, which balances well with the buttercream. The orange pastry cream is flavorful and goes really well with the chocolate coating on the profiteroles, but some were underfilled and the crème pat was on the thin side (undercooked?). The gingerbread was also a bit hard (overbaked?). Overall, maybe not worthy of the winner’s cake stand trophy, but still a successful bake!


Both cakes were delicious and moist, and the pumpkin cake was the perfect autumn treat! The profiteroles were tender, with crisp caramel parts. Visually gorgeous too! An amazing conclusion to a great season!
LikeLike
Thanks, Lori!
LikeLike
Love following your progress. Impressive and inspiring!
LikeLike
Thanks! I appreciate the encouragement!
LikeLike